Summary
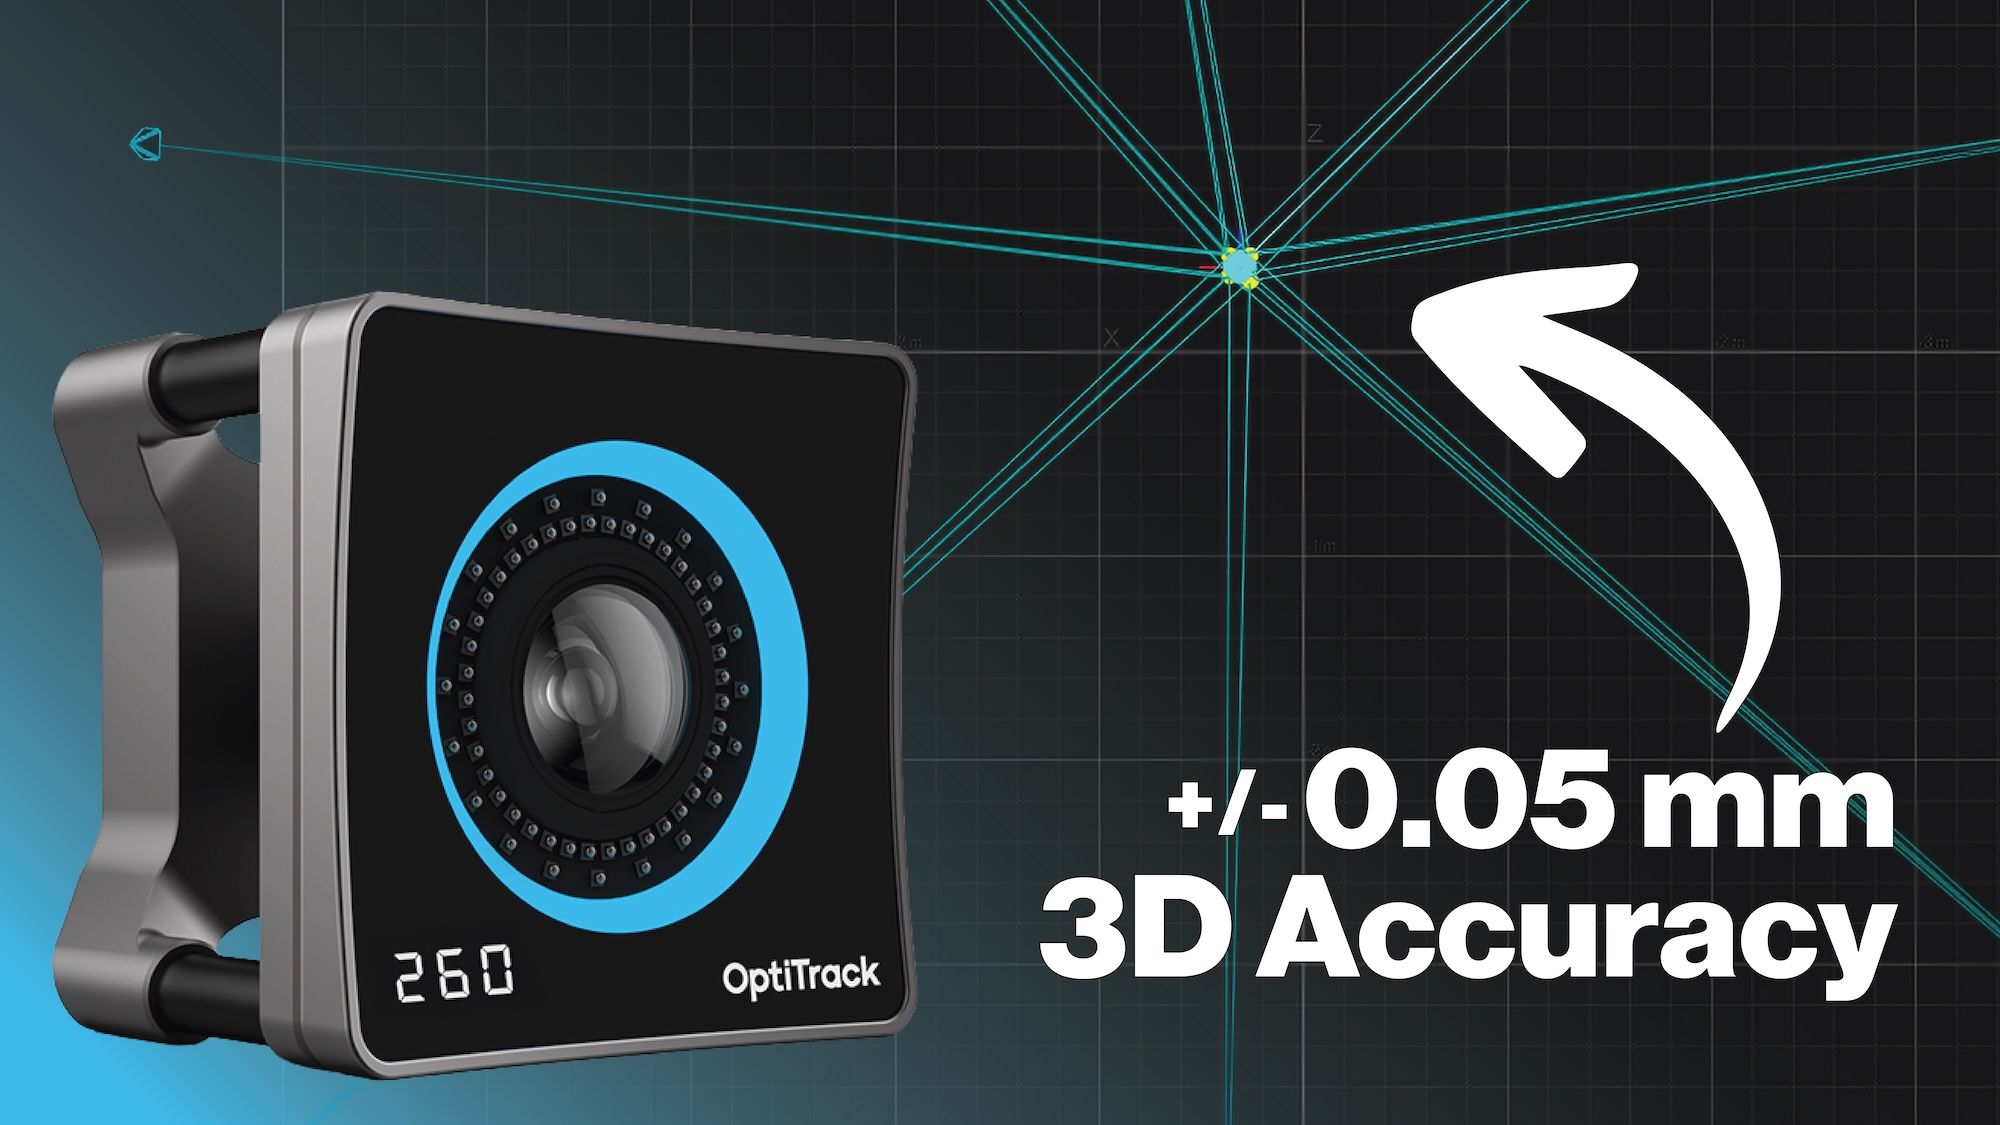
The following report describes an accuracy validation test conducted with the PrimeX 260 cameras. The test used a Thorlabs LTS-300C/M translation stage (<5um error) as a source of ground truth for the length of a 100mm translation, operationalizing the error of the camera system as offset from the values reported by the stage. An 8-camera PrimeX 260 system exhibited a mean displacement error of 0.037mm (± .025mm) across nine 100mm translation trials, see Figure 3. Additionally, it demonstrated a static precision error of .015mm (± .009mm).
Methodology
Eight PrimeX 260 cameras were mounted to truss, forming an 11m x 11m x 3.5m volume. The cameras were aimed toward a cart holding a Thorlabs LTS-300C/M stage in the center of the volume, see Figure 1. The PrimeX 260 cameras were set to a gain of 2 and an exposure of 250us. Mounted to the stage were four 19mm AnchorPuck LEDs, which provided the positional data for the test. The camera-to-target distances ranged from 5.8m to 8.6m. The system was calibrated with a standard wanding procedure, achieving median wand and ray errors of .059mm and .237mm, respectively.
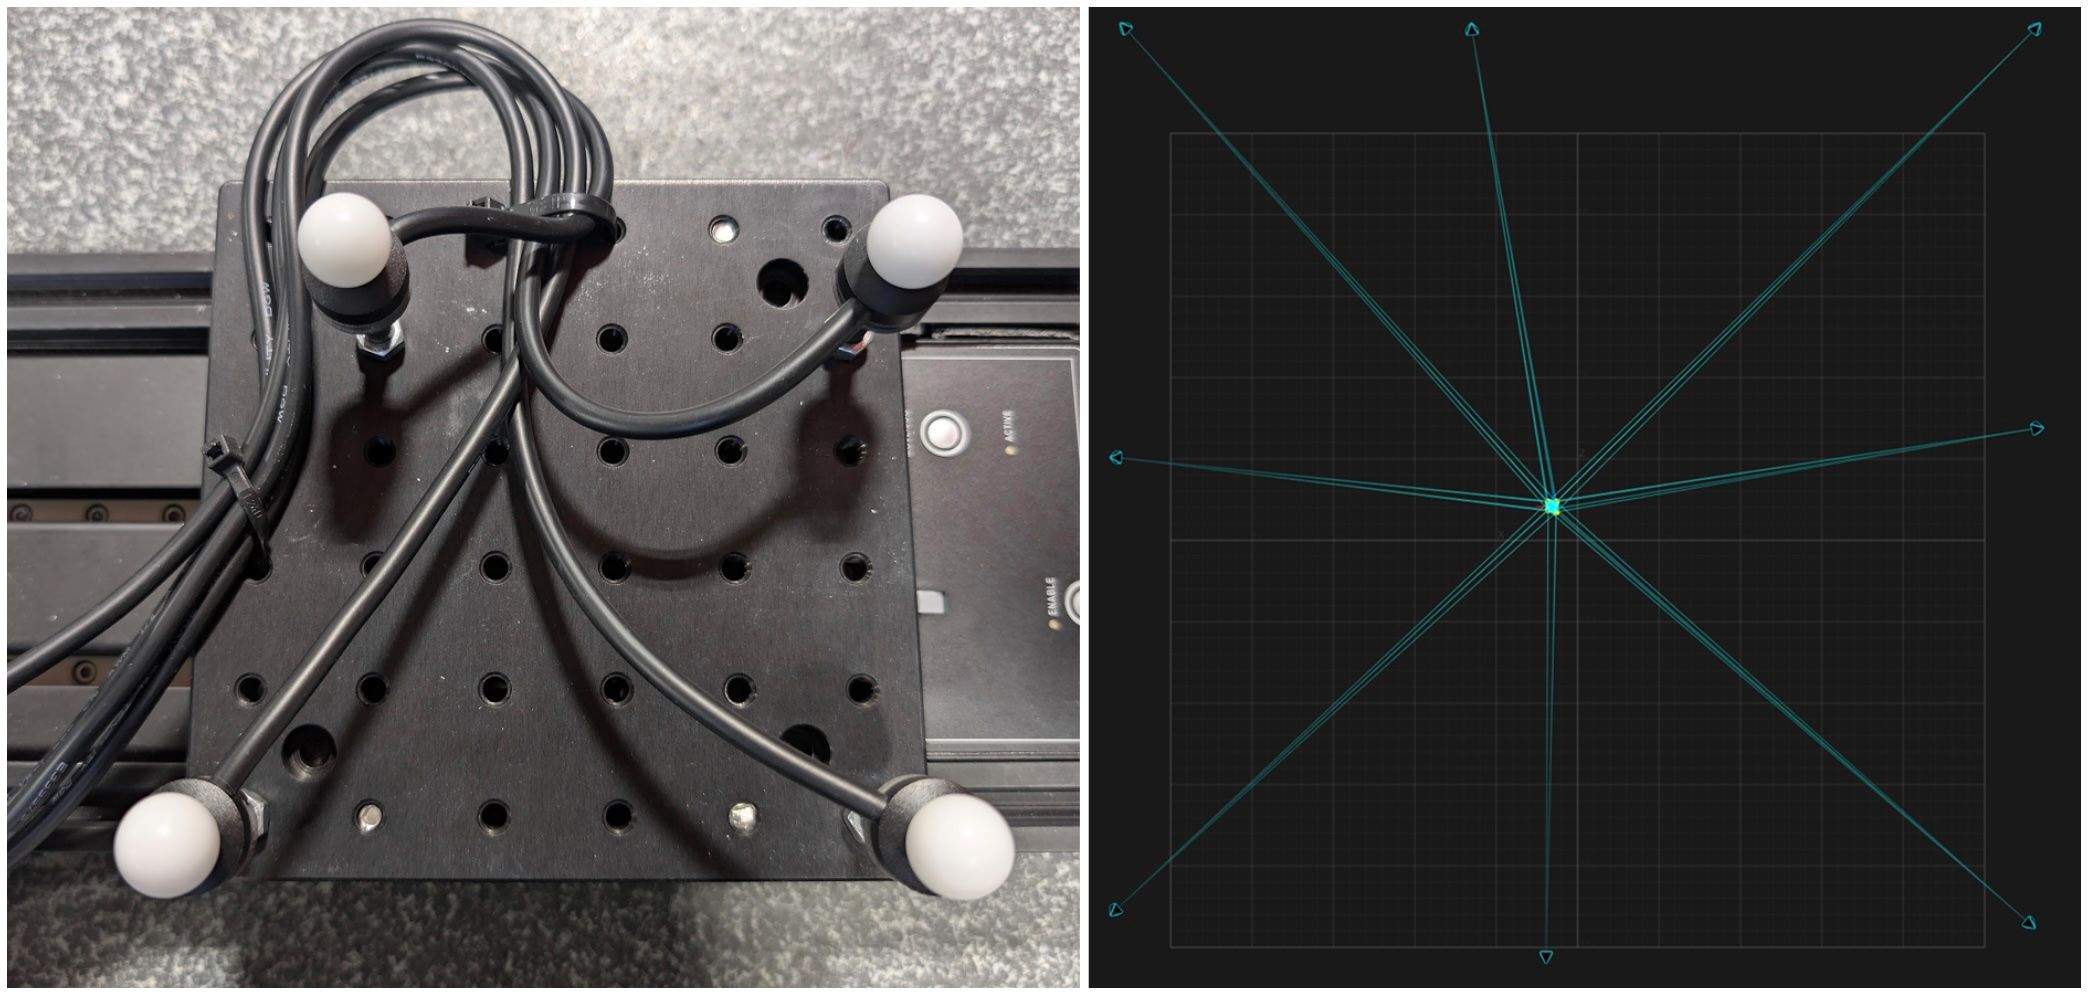
Figure 1: Left: The markers mounted to a linear stage. Right: A top-down view of the 3D volume.
Results
Positional Accuracy
To evaluate the system’s positional accuracy, we compared the reported linear displacement of the markers (from their initial position) following a 100mm translation with the values reported by the Thorlabs LTS-300C/M linear stage. The results showed that the system exhibited a mean displacement error of <= 0.037mm (SD = .025mm) across four markers and nine trials, see Table 1 and Figure 2.
Mean | SD | 95% | |
Translation Error (mm) | 0.037 | 0.025 | 0.083 |
Table 1: Accuracy Test Results
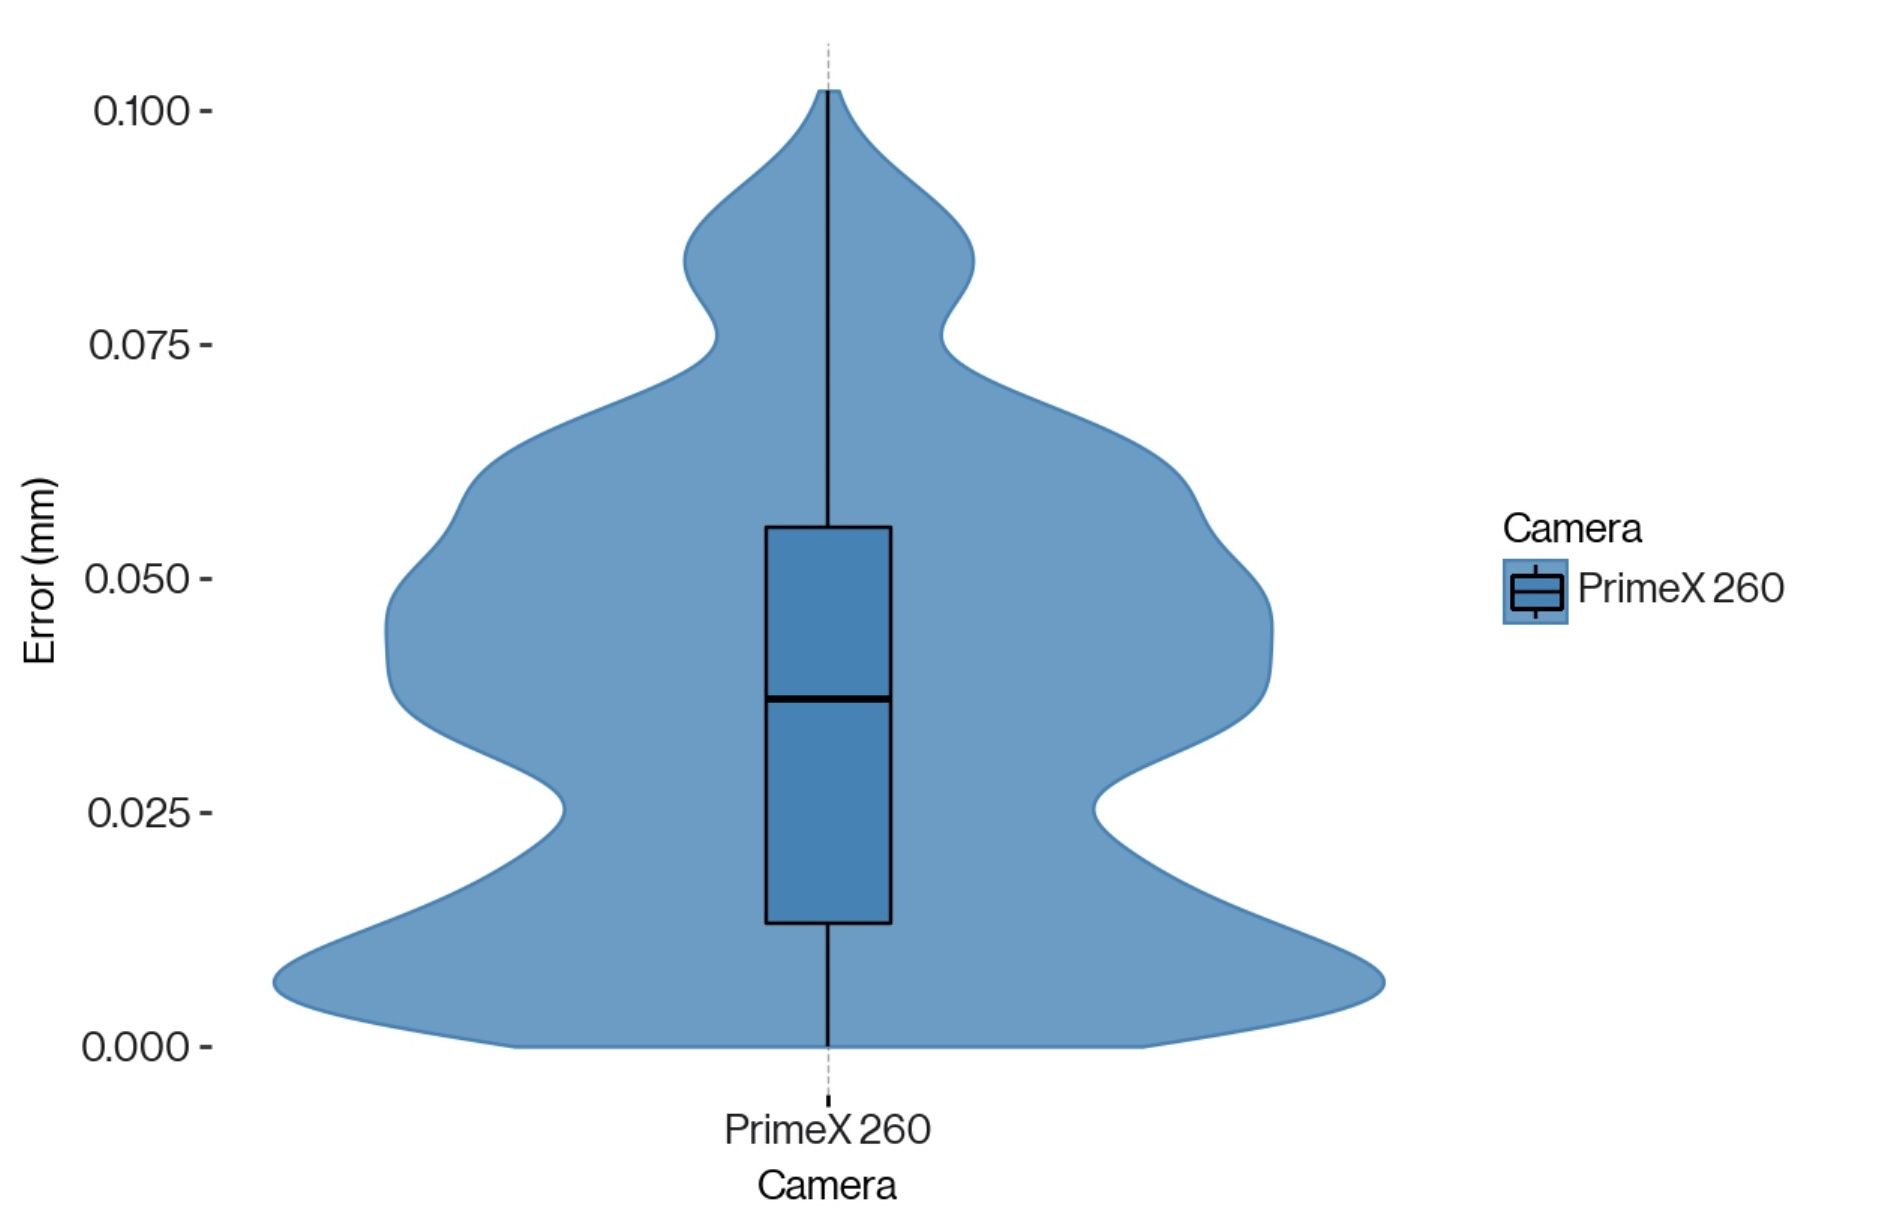
Figure 2: Marker positional error following 100mm translation
Static Precision
To test the system’s precision while stationary, the positional displacement of the markers from their initial position (average of first 15 frames) before the translation was calculated. Across the nine recordings, the average positional deviation was .015mm (SD = .009mm), see Table 2 and Figure 3.
Mean | SD | 95% | |
Static Precision Error (mm) | 0.015 | 0.009 | 0.034 |
Table 2: Precision Test Results
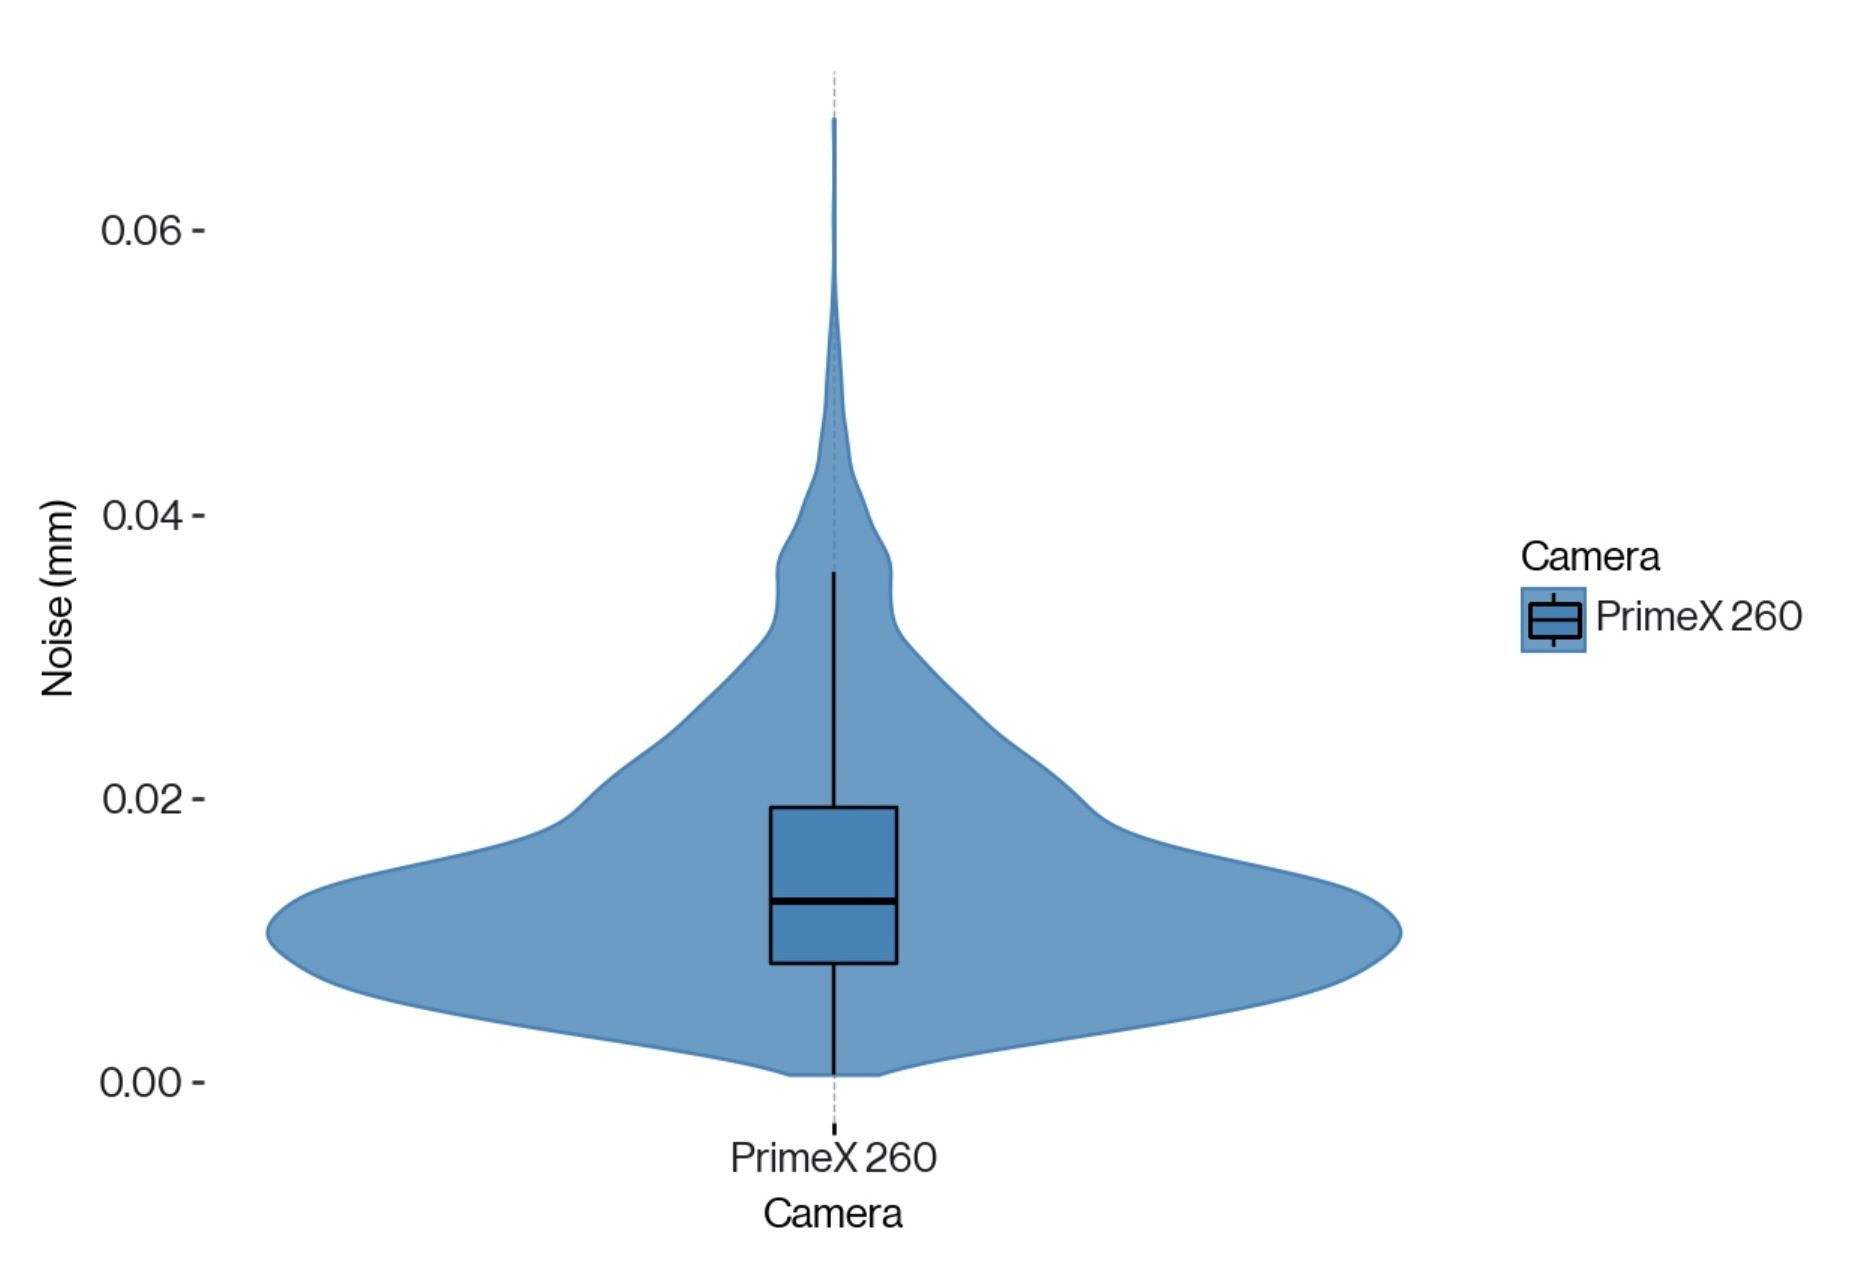
Figure 3: Marker positional noise while stationary
Conclusion
In this test, a Thorlabs LTS-300C/M linear translation stage placed in the center of an 11m x 11m x 3.5m volume was used to validate the accuracy of our latest camera, the PrimeX 260. The system of 8 PrimeX 260 cameras reproduced the stage’s 100mm translations to within .037mm (± .025mm) across nine trials, demonstrating a static precision of .015mm (± .009mm).
Disclaimer
Achieving an optical tracking accuracy of <.1mm is not a simple task, even if the hardware is capable. Minute, nearly-imperceptible vibrations on only a few cameras can introduce additional noise and error into the system, especially as the distance between the cameras and the tracked object increase. Temperature changes can introduce additional noise at the interface between camera and mount, and within the truss system itself.
For these tests, numerous steps were taken to mitigate the influence of external noise: All degrees of freedom in the camera mounts were tightly secured with a wrench. The tests were conducted after-hours in an empty building with the HVAC system disabled. The cameras were calibrated at their operational temperature, with the accuracy and precision testing done immediately afterward.
